Among its many benefits, yoga offers a gentle yet effective path towardachieving toned and sculpted arms.
You must pay attention to your lifestyle habits as well.
This includes your nutrition, sleep, stress management, and total body exercise routine."
Shutterstock
Arms are one of those areas many of us have a love-hate relationship with.
We’ve handpicked the below yoga exercises to reduce arm fat and reveal an impressive tone.
These moves will fire up your arm muscles, including the triceps, biceps, and shoulders.
Shutterstock
Read on for the exercises, then check outThe Best Arm-Strengthening Exercises for Women.
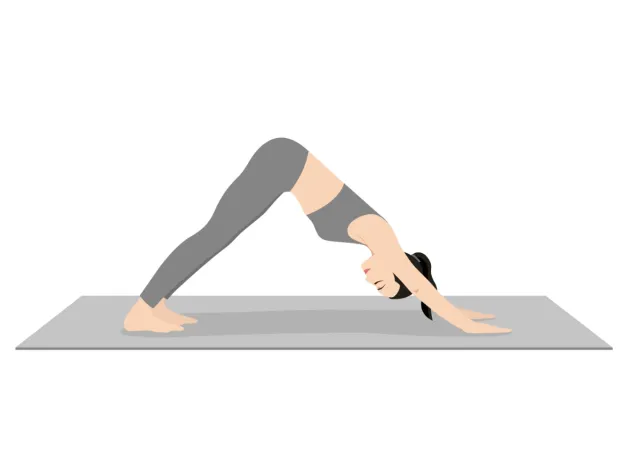
Downward-Facing Dog
First up on this list of yoga exercises to reduce arm fat is downward dog.
Downward-facing dog is the ultimate yoga pose to kickstart your day.
Shutterstock
Place your hands in front of you, keeping them shoulder-width apart.
For better support, spread your fingers wide on the yoga mat.
Allow your weight to shift back into your hips, legs, and hands.
Shutterstock
Keep your head aligned with your spine until you’re triangular.
Hold for a few minutes, and then gently float your body forward into a plank position.
Perform this movement for three to five minutes before moving on to the next exercise.
Shutterstock
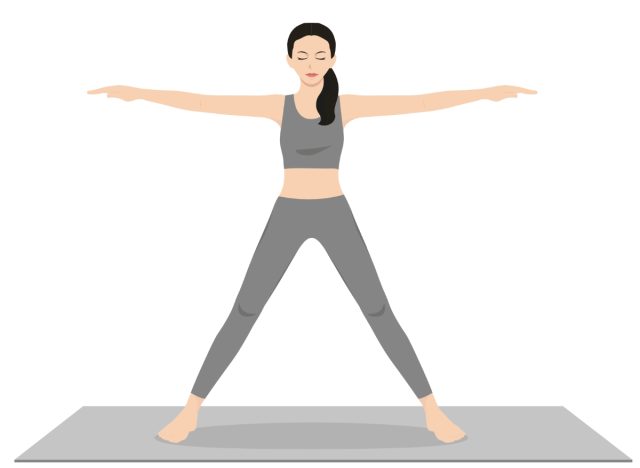
Murdock says, “it’s crucial that you activate muscles in your arms to hold the star pose.
Starting from mountain pose, step your feet wide apart with your arms out to the side.
confirm your feet are underneath your wrists, facing forward and parallel.
Shutterstock
Drive your weight into your feet, and keep your thighs activated while keeping your tailbone tucked in.”
Hold for three to five minutes.
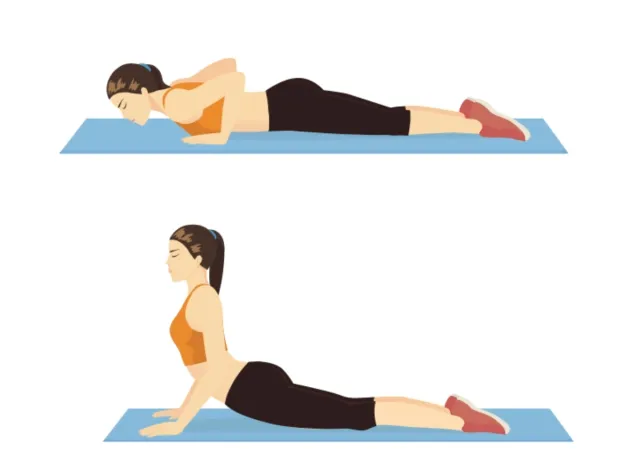
“Lie flat on your stomach with your forehead on the ground,” instructs Murdock.
Shutterstock
“Place your arms on either side of your shoulders, palms planted on the ground.
Slowly start to place pressure on the palms of your hands, and push up.
Hold your gaze at the ceiling for 15 to 30 seconds, and return to the starting position.
Shutterstock
Repeat for three to five minutes.
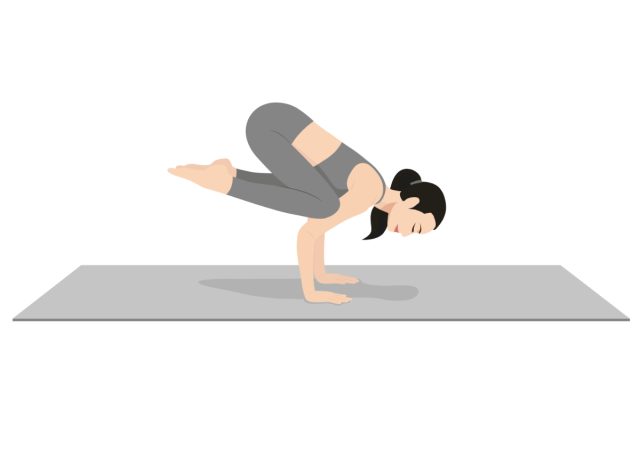
“Crow pose helps to strengthen your forearms, wrists, and arms,” says Murdock.
“Stand upright with your feet about shoulder-width apart.
Shutterstock
Hang your arms on each side of the body.
Next, apply pressure to your palms by pushing them into the ground.
Elevate your feet off the ground by resting your knees on the backs of your upper arms.
Keep your gaze straight ahead, and hold the position for a few seconds.
Remember to breathe by exhaling slowly.”
Repeat this pose three to four times before heading into the next movement.
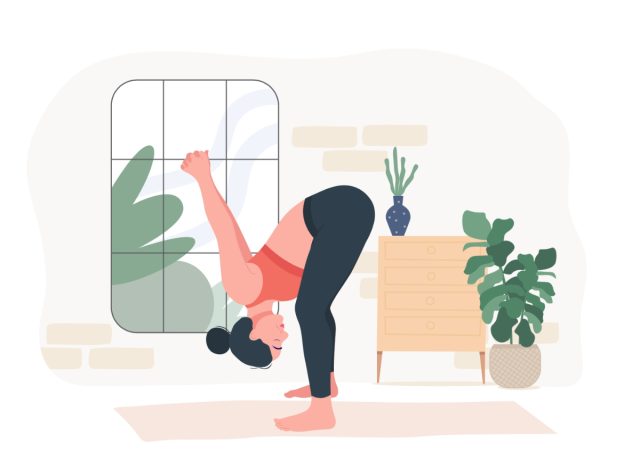
“Start with your feet hip-distance apart while standing tall.
As you inhale, clasp your hands behind your back by interlacing your fingers or bringing your palms together.
Then, exhale and fold forward from the waist while keeping your hands together.
Allow your arms to lift as high as they can behind your back.”
Hold this position for five to 10 deep breaths.
Remember to keep your hips stacked and over your heels.
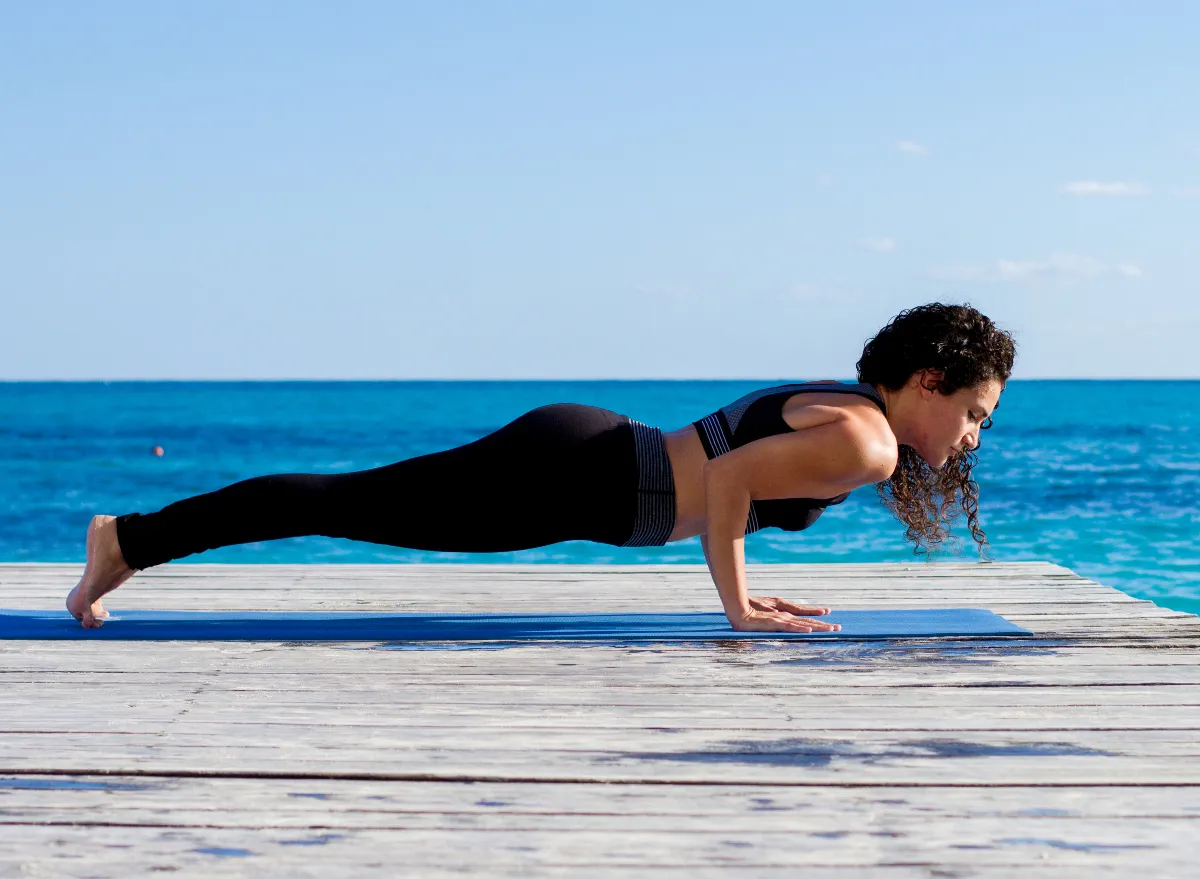
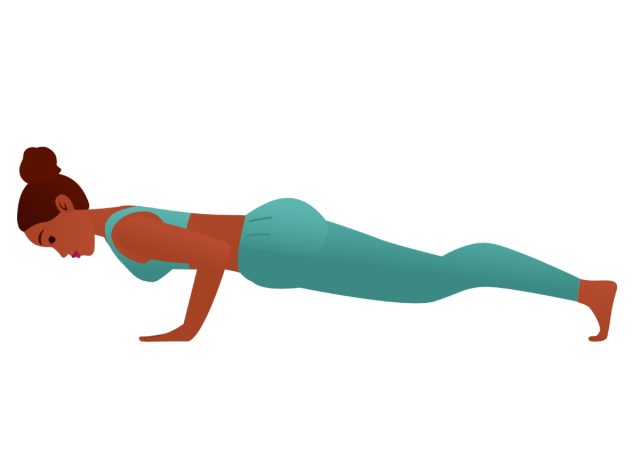
Chaturanga
Next up, it’s time for Chaturanga.
“Push your knees off the ground, and step back into a plank position.
Keep a soft gaze at the edge of your yoga mat to avoid overextending your neck.
Use your arms to lower your body to the floor and come back up.”
Repeat 10 to 12 times.
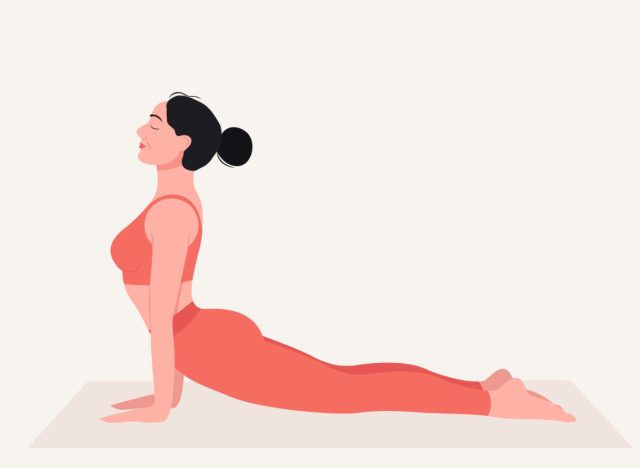
“From a plank position, inhale deeply, and glide your body forward through your shoulders.
As you glide forward, keep your knees and thighs off the ground.
Keep sliding forward until your arms are straight.
Perform this movement for three to five minutes.
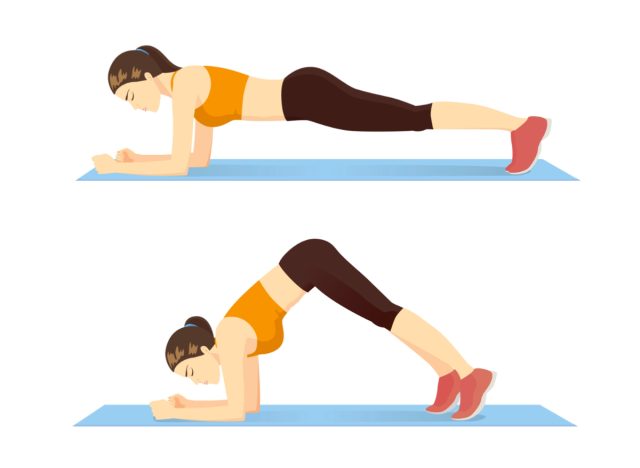
“Start by coming down onto the floor into tabletop position.
double-check your knees are directly under your hips,” says Murdock.
Continue pressing your forearms into the ground, firming your shoulder blades against your back.
Keep your legs straight without locking the knees.”
Hold for 30 to 60 minutes before resting for 30 seconds.
Repeat for five minutes.
